[SwiftUI] View - padding()
24 February 2020
SwiftUI를 이제 공부를 시작하였기 때문에 잘못된 Pad 정보가 있을 수 있으니 유의하여 주시기 바랍니다.
Pads
기존 UIKit에서 Margin 또는 Padding을 주려면 감싼 View를 만들고, Autolayout을 설정하거나, LayoutMargin을 이용하였습니다. 즉, 이 말은 Margin 또는 Padding을 주려면 코드가 많이 필요하다는 의미입니다.
SwiftUI에서는 View의 extension 함수로 padding()를 제공하여 손쉽게 View의 Edge Inset에 특정 크기만큼 채워넣도록 설정합니다.
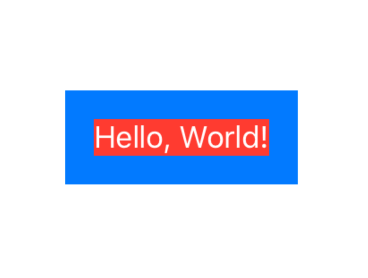
struct ContentView: View {
  var body: some View {
    Text("Hello, World!")
      .background(Color.red)
      .padding()
      .background(Color.blue)
  }
}
위의 코드를 통해 아래의 그림과 같이 쉽게 네 방향으로 Pad를 설정하였습니다.
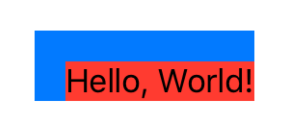
또는 특정 방향을 지정하여 Pad를 설정할 수 있습니다.
struct ContentView: View {
  var body: some View {
    Text("Hello, World!")
      .background(Color.red)
      .padding([.leading, .top])
      .background(Color.blue)
  }
}
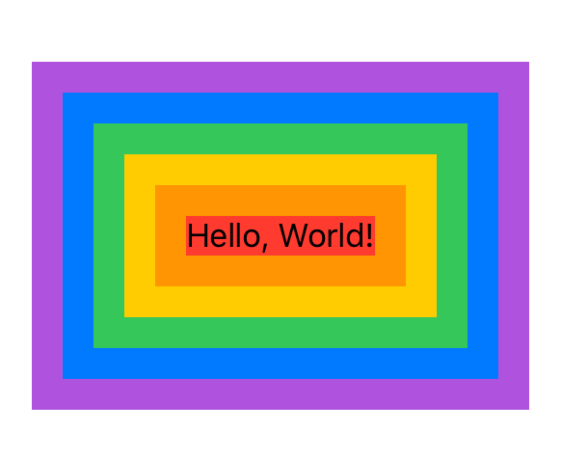
여러 겹의 Pad를 설정할 수 있습니다.
struct ContentView: View {
  var body: some View {
    Text("Hello, World!")
      .background(Color.red)
      .padding()
      .background(Color.orange)
      .padding()
      .background(Color.yellow)
      .padding()
      .background(Color.green)
      .padding()
      .background(Color.blue)
      .padding()
      .background(Color.purple)
  }
}
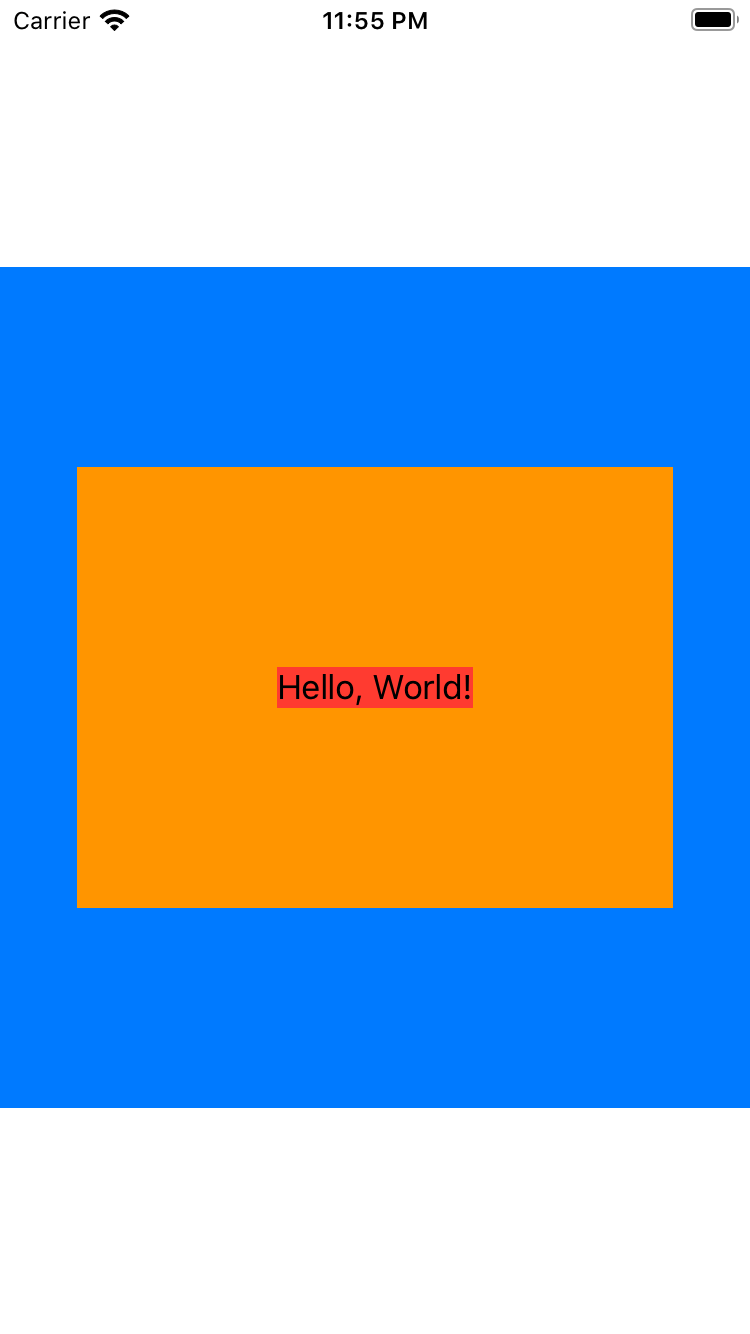
만약 Pad의 크기를 더 크게 주면 어떨까요?
struct ContentView: View {
  var body: some View {
    Text("Hello, World!")
      .background(Color.red)
      .padding(100)
      .background(Color.orange)
      .padding(100)
      .background(Color.blue)
  }
}
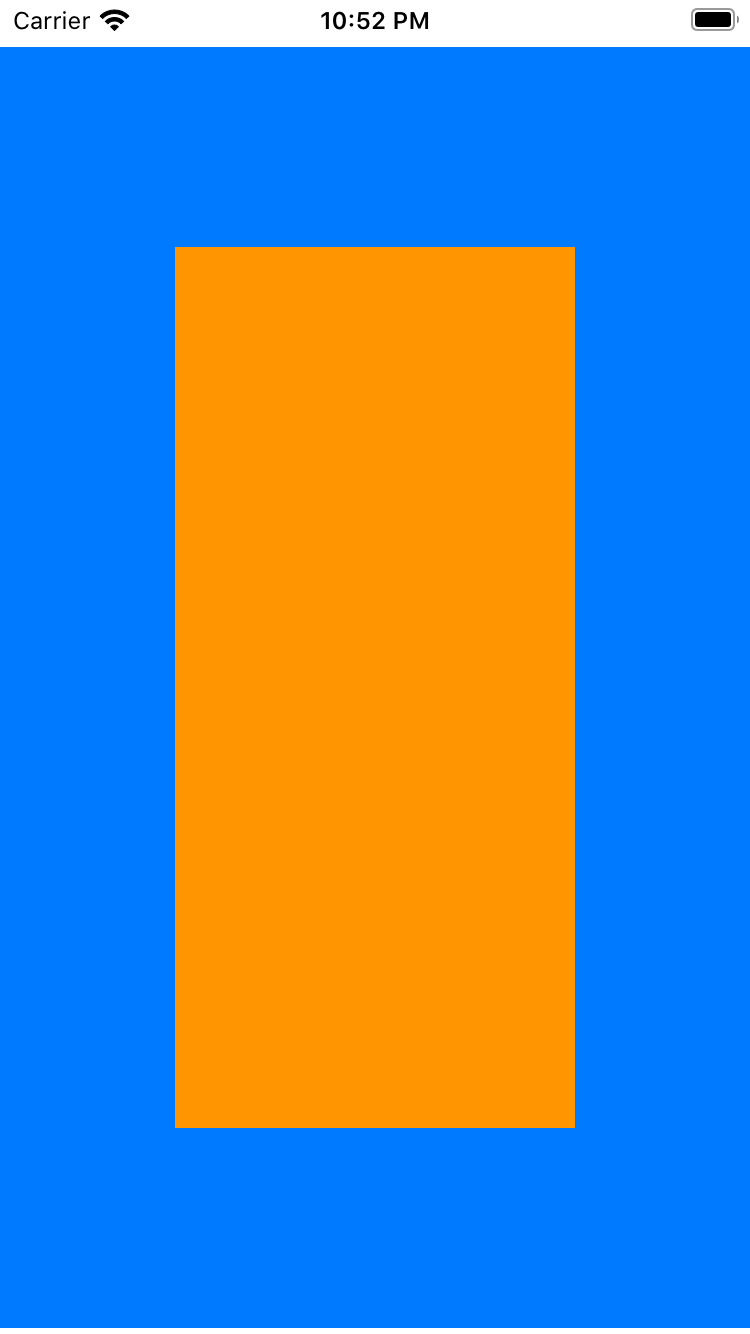

Portrait인 경우 Text View가 제대로 표시되지 않는 것을 확인할 수 있습니다. Text View의 Width 계산이 제대로 되지 않아 발생한 문제입니다. 따라서 Text View의 Frame Size를 설정하거나 또는 fixedSize 함수를 이용하여 size 계산을 돕도록 합니다.
struct ContentView: View {
  var body: some View {
    Text("Hello, World!")
      .fixedSize(horizontal: true, vertical: false)
      .background(Color.red)
      .padding(100)
      .background(Color.orange)
      .padding(100)
      .background(Color.blue)
  }
}