[Xcode][Ruby] Xcodeproj Gem을 활용하여 Xcode Test Plans 생성 스크립트 만들기
다음과 같이, 이 프로젝트는 다음과 같은 구조를 갖고 있습니다.
├── Application.xcworkspace
├── Projects
│   ├── Application
│   │   └── Application.xcodeproj
│   ├── ModuleA
│   │   └── ModuleA.xcodeproj
│   ├── ModuleB
│   │   └── ModuleB.xcodeproj
│   └── ModuleC
│       └── ModuleC.xcodeproj
└── TestPlan
    └── FullTest.xctestplan
Xcode 11부터는, 테스트를 모아서 관리할 수 있는 Xcode Test Plans 기능을 출시하였습니다. 참고 : WWDC 2019 - Testing in Xcode
Xcode Test Plans 기능은 여러 프로젝트의 테스트 타겟을 통합하여 관리할 수 있으므로, 이를 통해 테스트 관리를 보다 효율적으로 수행할 수 있습니다.
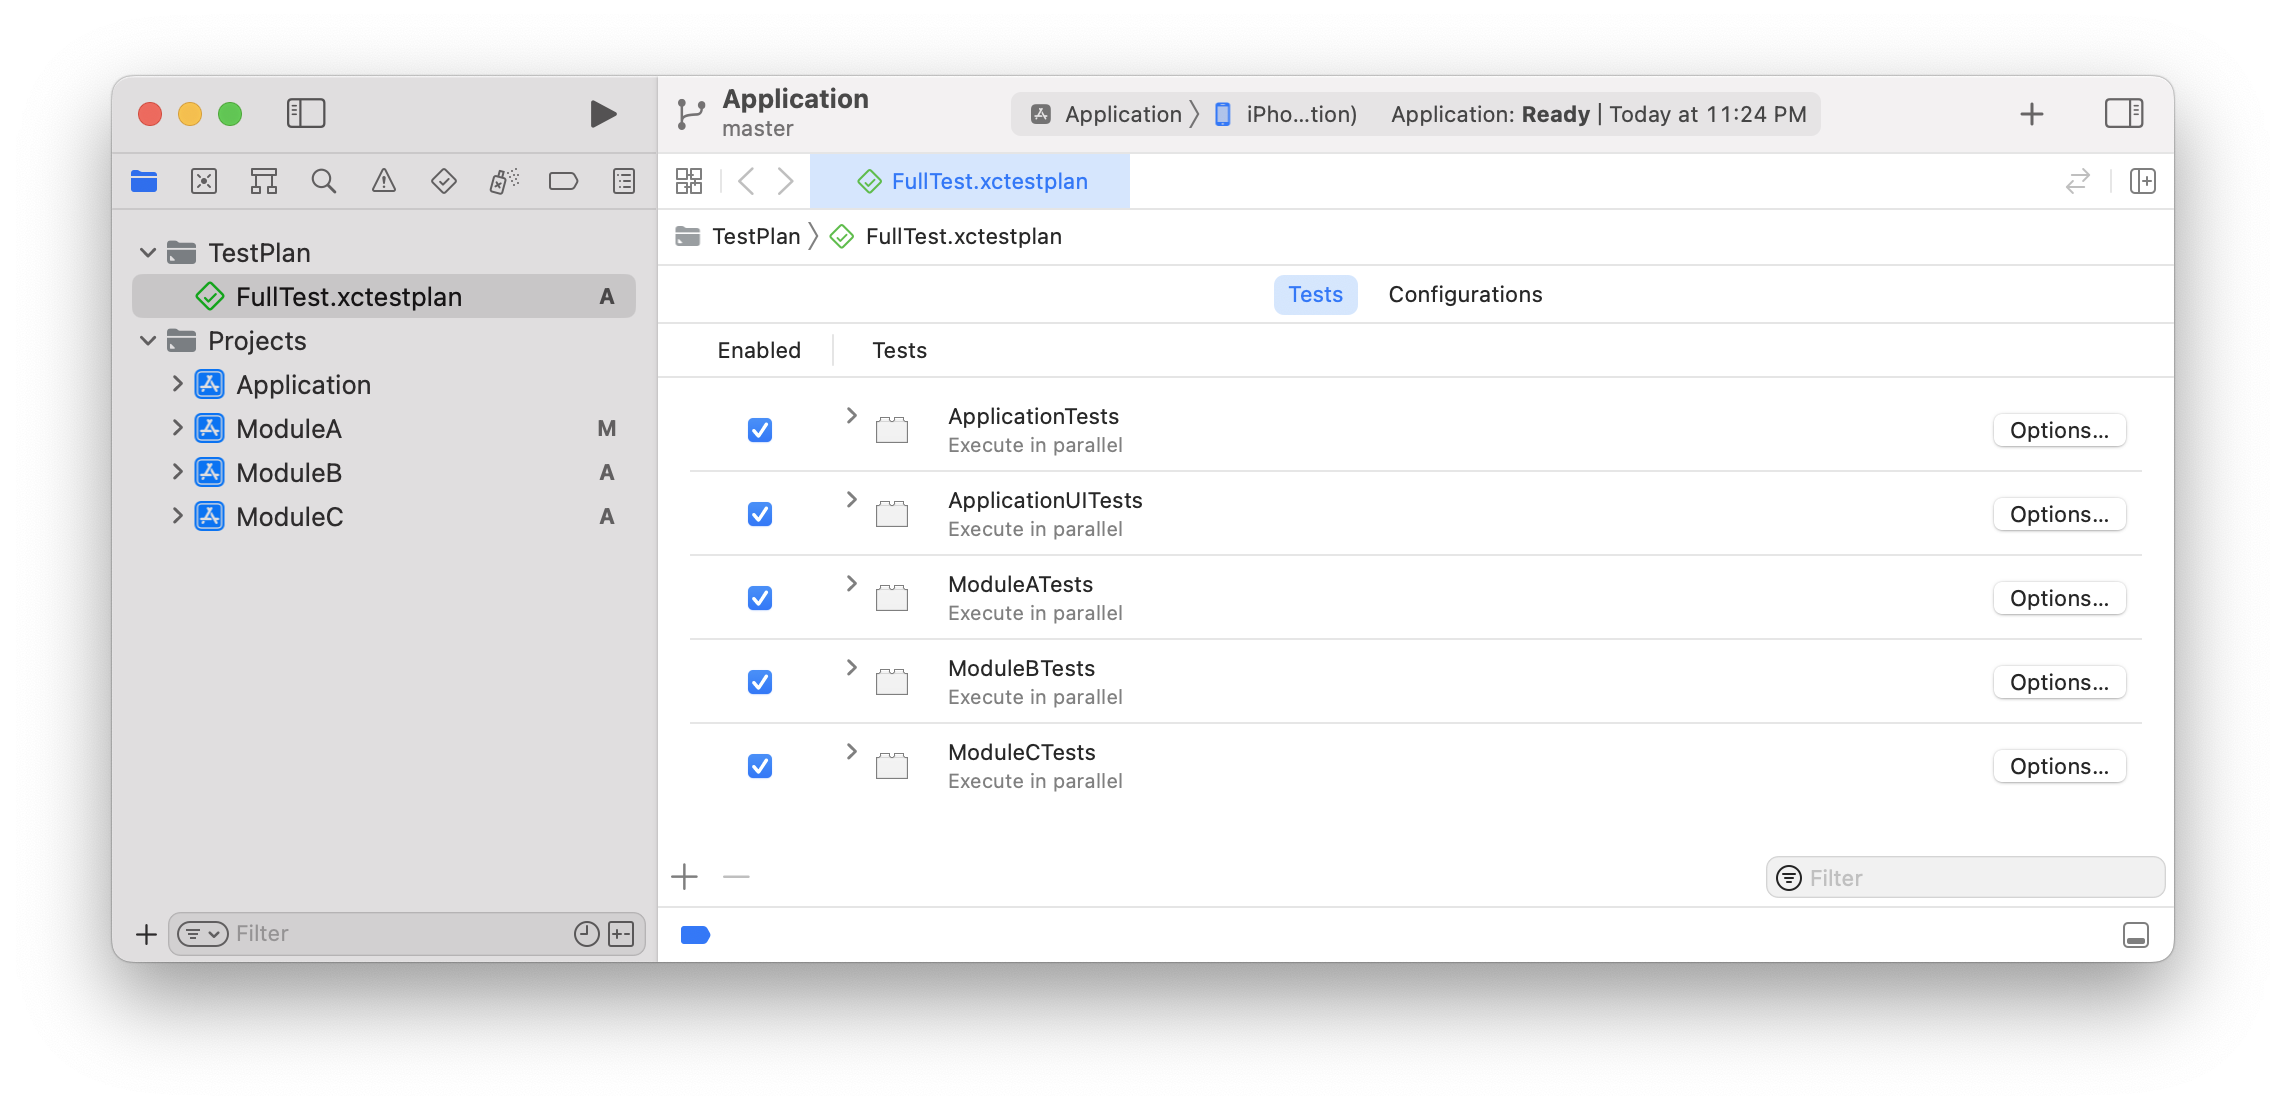
해당 xctestplan 파일의 소스코드를 살펴보면 다음과 같습니다.
{
  "configurations" : [
    {
      "id" : "B26C50E8-C293-44A3-BE07-6818CDECD057",
      "name" : "Configuration 1",
      "options" : {

      }
    }
  ],
  "defaultOptions" : {
    "testTimeoutsEnabled" : true
  },
  "testTargets" : [
    {
      "parallelizable" : true,
      "target" : {
        "containerPath" : "container:Application.xcodeproj",
        "identifier" : "CBAB91A528B51F9400804137",
        "name" : "ApplicationTests"
      }
    },
    {
      "parallelizable" : true,
      "target" : {
        "containerPath" : "container:Application.xcodeproj",
        "identifier" : "CBAB91AF28B51F9400804137",
        "name" : "ApplicationUITests"
      }
    },
    {
      "parallelizable" : true,
      "target" : {
        "containerPath" : "container:..\/ModuleA\/ModuleA.xcodeproj",
        "identifier" : "CBAB91FD28B520AC00804137",
        "name" : "ModuleATests"
      }
    },
    {
      "parallelizable" : true,
      "target" : {
        "containerPath" : "container:..\/ModuleB\/ModuleB.xcodeproj",
        "identifier" : "CBAB91E928B520A400804137",
        "name" : "ModuleBTests"
      }
    },
    {
      "parallelizable" : true,
      "target" : {
        "containerPath" : "container:..\/ModuleC\/ModuleC.xcodeproj",
        "identifier" : "CBAB921928B520F400804137",
        "name" : "ModuleCTests"
      }
    }
  ],
  "version" : 1
}
어떤 프로젝트의 스킴에서 실행하는지에 따라 containerPath의 상대경로가 결정됩니다.
위의 정보에서는 containerPath 경로가 Application에서 시작하므로, xctestplan이 정상적으로 보여집니다.
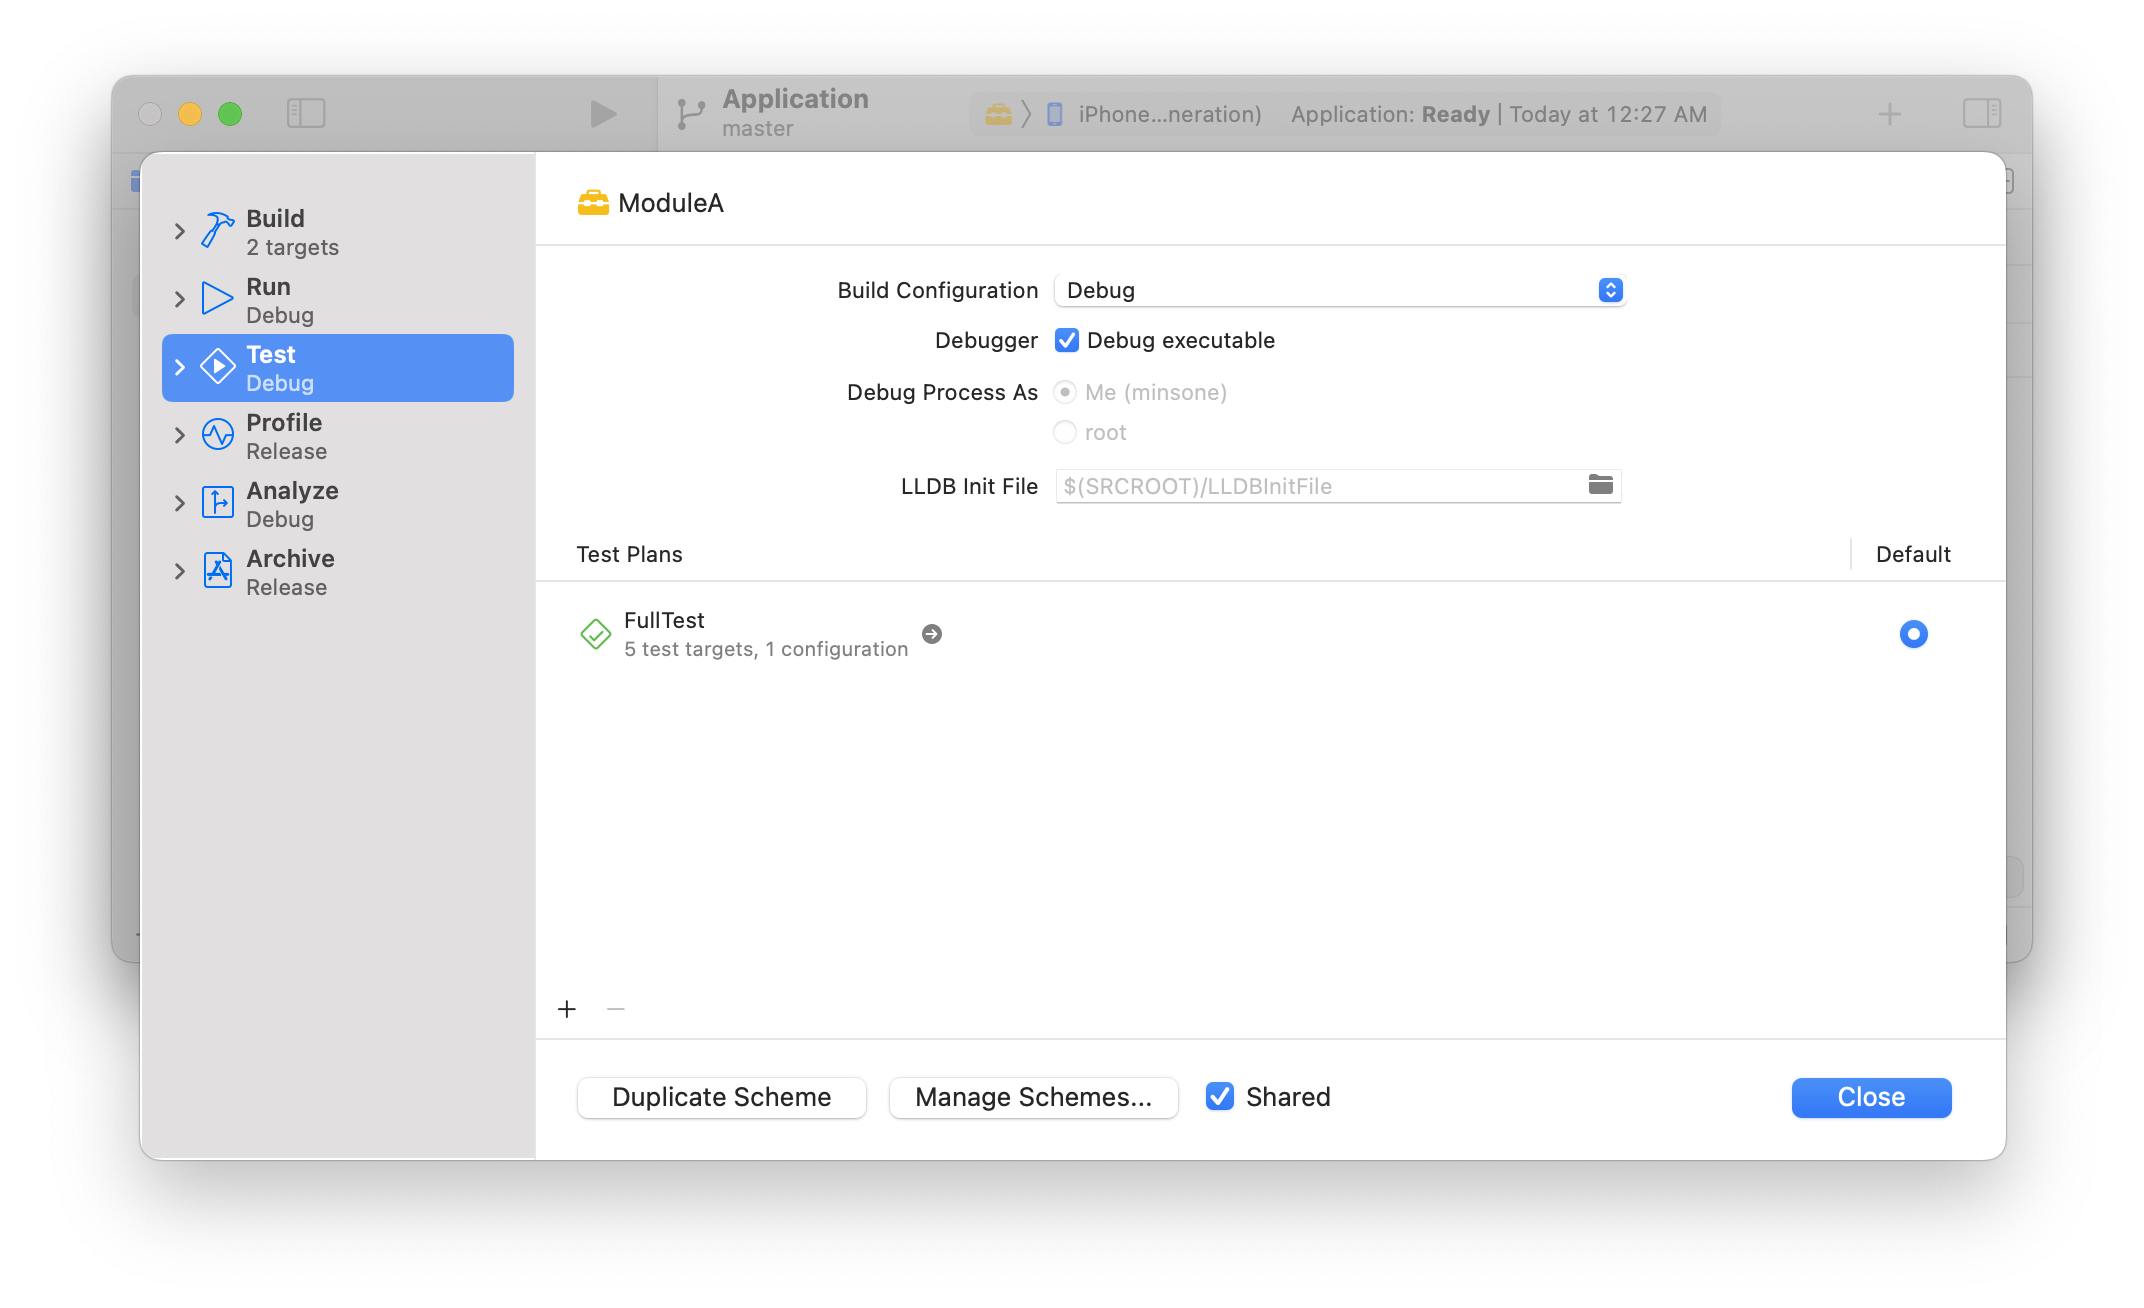
만약에 ModuleA 프로젝트의 ModuleA 스킴에서 FullTest.xctestplan을 테스트 플랜으로 설정하게 되면, ApplicationTests과 ApplicationUITests 테스트 타겟은 missing으로 표시됩니다.
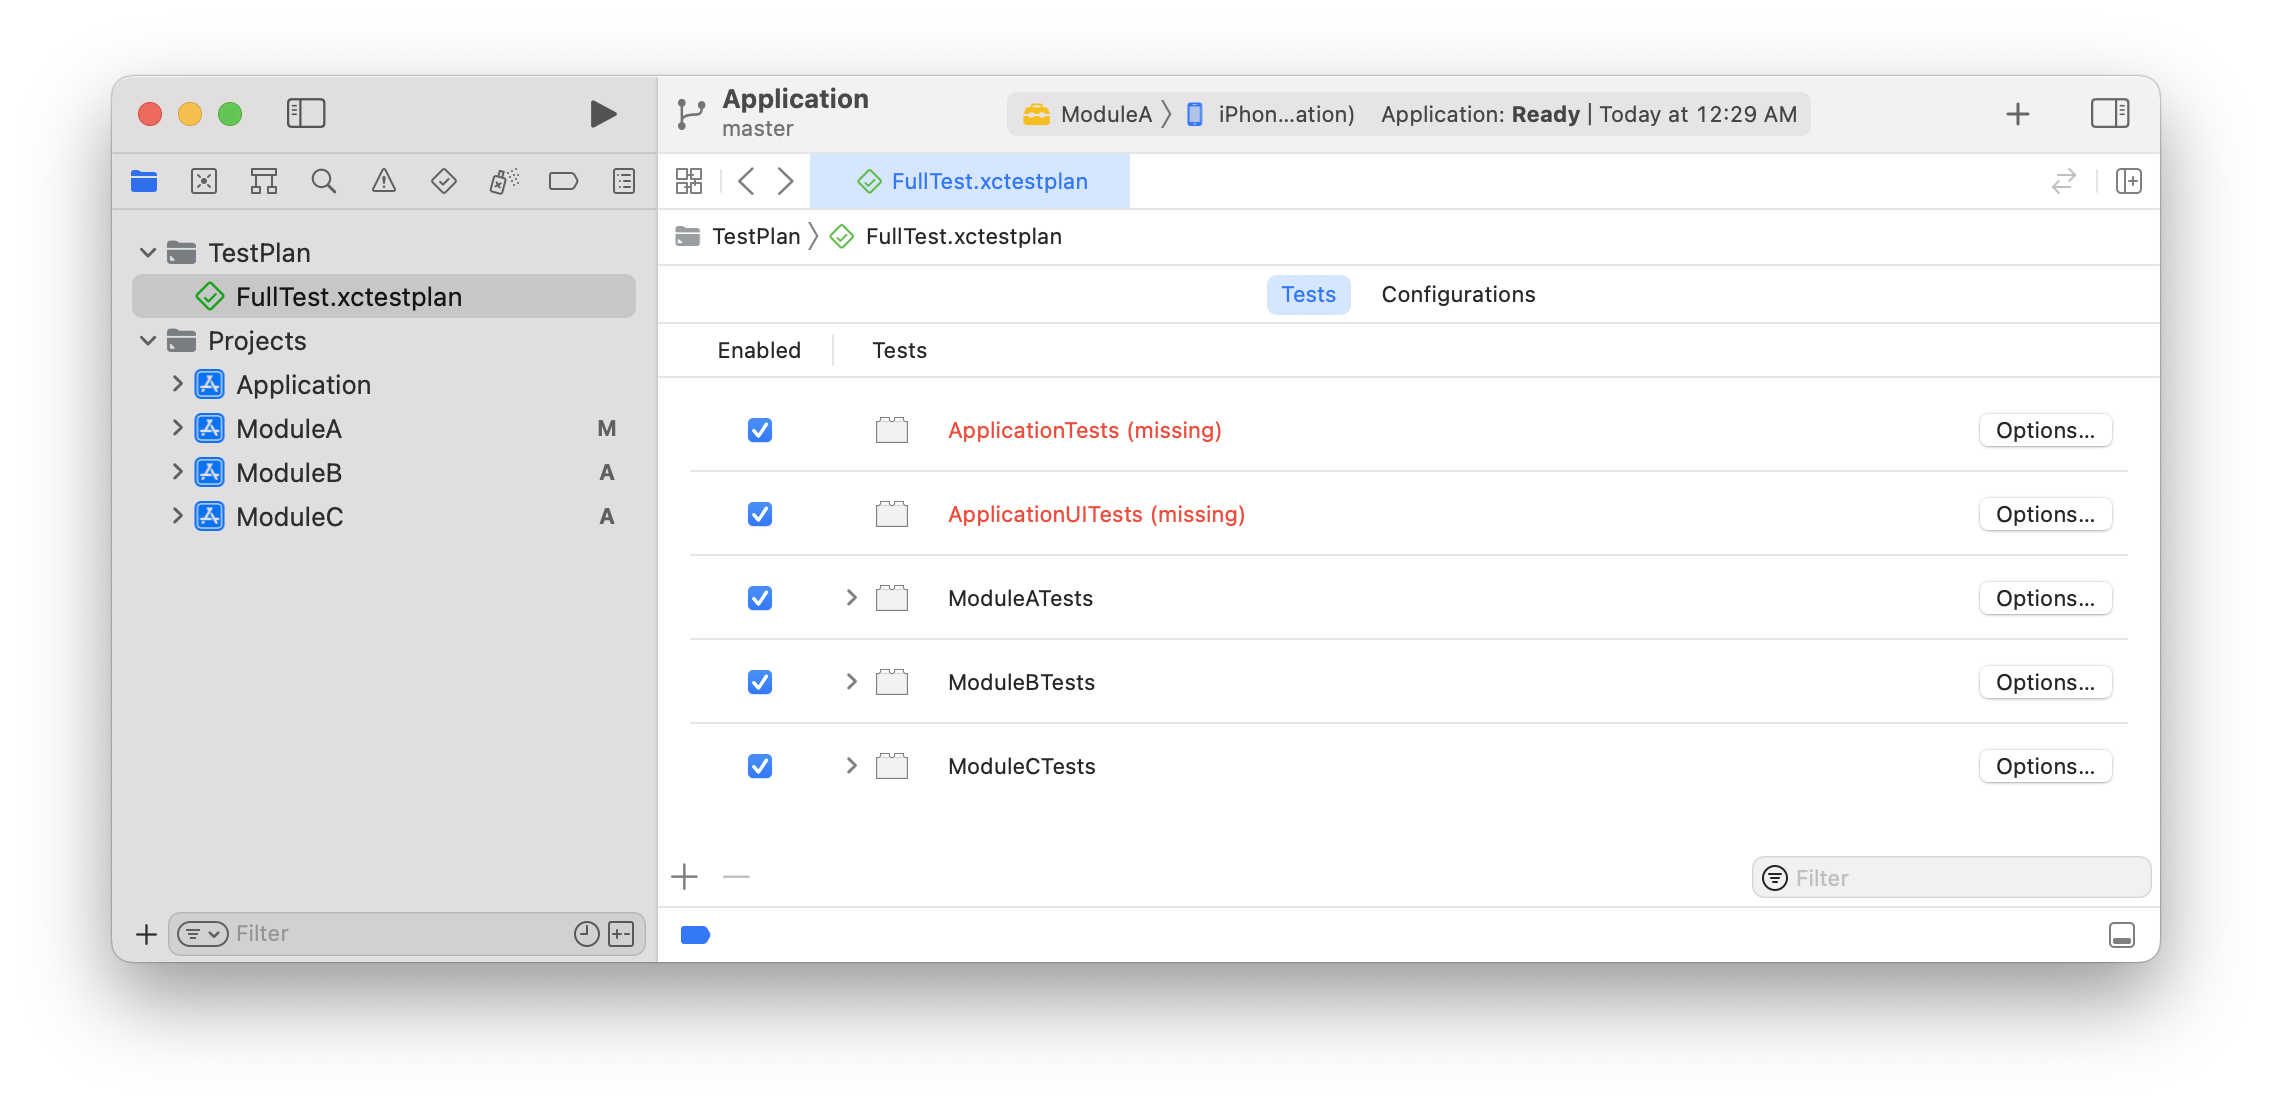
missing으로 표시되는 테스트는 수행되지 않습니다.
따라서 어떤 스킴에서 Test Plans을 수행할 것인지 결정해야 합니다. 이번 경우에는 Application 프로젝트의 Application 스킴을 기반으로 작업할 것입니다.
다음으로 xctestplan의 identifier를 알아보겠습니다. identifier는 테스트 타겟의 UUID를 나타냅니다. 이 정보를 얻기 위해서는 xcodeproj의 project.pbxproj 파일을 열어서 테스트 타겟의 정보를 분석해야 합니다. 이 부분은 CocoaPods/Xcodeproj Gem Github을 활용합니다.
다음과 같이 Ruby 파일을 작성합니다.
# FileName : generate_xctestplan.rb
require 'xcodeproj'

cmd = "find Projects -type d -name '*.xcodeproj'"
value = `#{cmd}`
value.split(/\n+/).sort.each { |item|
  project_path = item
  project = Xcodeproj::Project.open(project_path)
  project.targets.each do |target|
    if target.product_type == "com.apple.product-type.bundle.unit-test"
      puts "#{project_path}, #{target.name}, #{target.uuid}"
    end
  end
}
위 파일을 실행하면 다음과 같이 출력됩니다.
$ ruby generate_xctestplan.rb
Projects/Application/Application.xcodeproj, ApplicationTests, CBAB91A528B51F9400804137
Projects/ModuleA/ModuleA.xcodeproj, ModuleATests, CBAB91FD28B520AC00804137
Projects/ModuleB/ModuleB.xcodeproj, ModuleBTests, CBAB91E928B520A400804137
Projects/ModuleC/ModuleC.xcodeproj, ModuleCTests, CBAB921928B520F400804137
프로젝트 경로, 테스트 타겟 이름과 UUID 정보를 추출하였습니다. 이 정보를 이용하여 xctestplan의 testTargets 항목을 생성하는 코드를 만들 수 있습니다.
# FileName : generate_xctestplan.rb
require 'xcodeproj'

def makeTestTarget(target, path)
  output = "\n    {"
  output += "\n      \"parallelizable\" : true,"
  output += "\n      \"target\" : {"
  if path.include? "Application.xcodeproj"
    output += "\n        \"containerPath\" : \"container:Application.xcodeproj\","
  else
    output += "\n        \"containerPath\" : \"container:..\\/#{path.gsub("/", "\\/")}\","
  end
  output += "\n        \"identifier\" : \"#{target.uuid}\","
  output += "\n        \"name\" : \"#{target.name}\""
  output += "\n      }"
  output += "\n    },"

  return output
end

output = <<HEREDOC
{
  "configurations" : [
    {
      "id" : "36E28BCA-F3CC-4EBF-A90F-EE0B8DF0AA8A",
      "name" : "Configuration 1",
      "options" : {}
    }
  ],
  "defaultOptions" : {
    "testTimeoutsEnabled" : true
  },
  "testTargets" : [
HEREDOC

cmd = "find Projects -type d -name '*.xcodeproj'"
value = `#{cmd}`

value.split(/\n+/).sort.each { |item|
  project_path = item
  project = Xcodeproj::Project.open(project_path)
  project.targets.each do |target|
    if target.product_type.include? "com.apple.product-type.bundle.unit-test"
      output += makeTestTarget(target, project_path)
    elsif target.product_type.include? "com.apple.product-type.bundle.ui-testing"
      output += makeTestTarget(target, project_path)
    end
  end
}

output += "\n  ],
  \"version\" : 1
}
"

puts output
이 파일을 실행하면 xctestplan의 JSON 형식을 따르는 데이터 형태로 출력합니다.
$ ruby generate_xctestplan.rb
{
  "configurations" : [
    {
      "id" : "36E28BCA-F3CC-4EBF-A90F-EE0B8DF0AA8A",
      "name" : "Configuration 1",
      "options" : {}
    }
  ],
  "defaultOptions" : {
    "testTimeoutsEnabled" : true
  },
  "testTargets" : [

    {
      "parallelizable" : true,
      "target" : {
        "containerPath" : "container:Application.xcodeproj",
        "identifier" : "CBAB91A528B51F9400804137",
        "name" : "ApplicationTests"
      }
    },
    {
      "parallelizable" : true,
      "target" : {
        "containerPath" : "container:Application.xcodeproj",
        "identifier" : "CBAB91AF28B51F9400804137",
        "name" : "ApplicationUITests"
      }
    },
    {
      "parallelizable" : true,
      "target" : {
        "containerPath" : "container:..\/ModuleA\/ModuleA.xcodeproj",
        "identifier" : "CBAB91FD28B520AC00804137",
        "name" : "ModuleATests"
      }
    },
    {
      "parallelizable" : true,
      "target" : {
        "containerPath" : "container:..\/ModuleB\/ModuleB.xcodeproj",
        "identifier" : "CBAB91E928B520A400804137",
        "name" : "ModuleBTests"
      }
    },
    {
      "parallelizable" : true,
      "target" : {
        "containerPath" : "container:..\/ModuleC\/ModuleC.xcodeproj",
        "identifier" : "CBAB921928B520F400804137",
        "name" : "ModuleCTests"
      }
    },
  ],
  "version" : 1
}
이제 출력된 결과를 TestPlan/FullTest.xctestplan 파일에 덮어씌웁니다.
$ ruby generate_xctestplan.rb > TestPlan/FullTest.xctestplan
그리고 Xcode에서 FullTest.xctestplan 파일을 열어 정상적으로 노출되는지 확인합니다. 또한, xcodebuild test를 이용하여 생성한 FullTest.xctestplan으로 잘 동작하는지 확인합니다.
$ xcodebuild test -scheme Application -testPlan FullTest -destination 'platform=iOS Simulator,OS=16.0,name=iPhone 13'
정리
- Xcodeproj를 활용하여 프로젝트 파일에서 정보를 추출하고, 그 정보를 이용하여 xctestplan 파일을 생성